
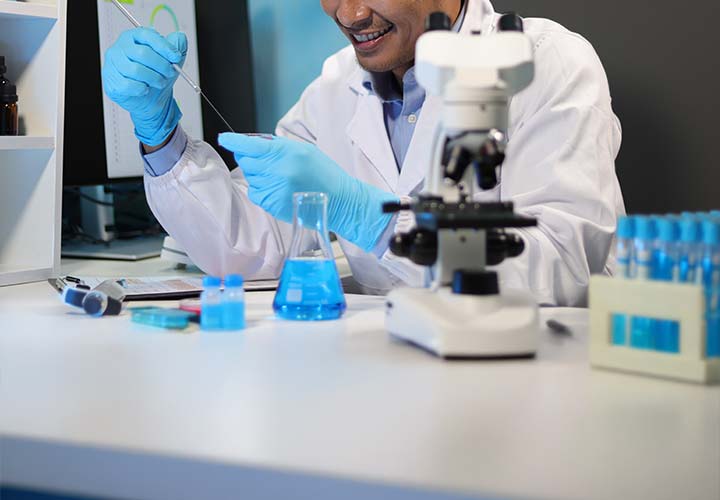
For many homeowners, sending a water sample to a laboratory feels like a “black box” process. You drop off a bottle, wait a few days, and receive a document filled with data. But what actually happens to your water during that time? How does a clear liquid from your tap turn into a precise, scientifically defensible report?
Understanding the journey from the tap to the lab report is essential for anyone who values transparency in their water quality. It reveals the rigorous testing standards that ensure the numbers on your page are accurate, reliable, and actionable.
Phase 1: The Collection
The integrity of your laboratory results begins the moment you collect your sample. If the sampling process is flawed, the data will be, too. This is why professional labs provide specific instructions—and often specific containers—for every test.
When you collect a sample, you are capturing a “snapshot” of the groundwater at that exact moment. For bacterial testing, the sample must be collected in a sterile bottle to avoid introducing outside microorganisms. For chemical testing, the container might contain pre-added preservatives—such as acid—to keep metals in solution or to neutralize chlorine that could otherwise interfere with the analysis.
Whether you are collecting from a tap or directly from a wellhead, following these protocols is the first, most important step in the analytical journey.
Phase 2: Logistics and Chain of Custody
Once the sample is collected, the “Chain of Custody” (COC) begins. The COC is a formal document that tracks your sample from the point of collection to the moment of analysis. It records:
- Who collected the sample.
- The exact time and date of collection.
- The specific tests requested.
- The temperature and condition of the sample upon arrival at the lab.
This documentation is what makes a professional laboratory report legally defensible. It proves that the sample was not tampered with and that it was kept in the appropriate conditions—such as a refrigerated cooler—during transport. For those using our laboratory services, this meticulous tracking is standard procedure.
Phase 3: Sample Preparation and Log-In
When your sample arrives at the lab, it is assigned a unique laboratory identification number. This ensures that your results are never mixed up with another client’s.
Once logged in, the sample undergoes preparation. This is where the science really begins. Depending on what we are testing for, technicians may filter the water, perform acid digestion to prepare heavy metals for analysis, or introduce the sample into specialized culture media to encourage the growth of bacteria. Every step is performed in a clean, controlled environment to prevent any cross-contamination.
Phase 4: The Analytical Process
The analysis itself is where sophisticated instrumentation comes into play. Labs today use a variety of high-tech methods to identify contaminants analyzed:
- Spectroscopy: Used primarily for heavy metals like lead, arsenic, and copper. The sample is ionized, and the machine measures the light signature of each element to determine its concentration with incredible accuracy.
- Chromatography/Mass Spectrometry (GC/MS): Used for organic compounds like pesticides, solvents, and fuels. These machines act like a molecular sieve, separating complex mixtures into individual components so that each one can be identified and quantified.
- Microbiological Culturing: For bacterial testing, samples are placed in an incubator. If coliforms or E. coli are present, they will reproduce, creating visible colonies that scientists can count to determine the level of contamination.
These instruments are calibrated daily against certified reference materials. This calibration is the “golden ruler” that tells us the instrument is perfectly tuned to provide precise results.
Phase 5: Data Verification and Reporting
Raw data from the machines is just the beginning. Before a report is released, it undergoes a rigorous review process.
- Quality Control (QC) Check: The laboratory reviews the “blanks” (pure water samples) and “spikes” (samples with a known concentration added) that were processed alongside your sample. If the QC samples show that the equipment was operating perfectly, the results are validated.
- Verification: A senior chemist or lab manager reviews the results to ensure they make scientific sense.
- Reporting: Finally, the data is compiled into a clear, easy-to-understand format. This report compares your results against regulatory benchmarks like the EPA’s Maximum Contaminant Levels (MCLs).
Why Local Expertise Makes a Difference
Water quality is inherently tied to the environment. Whether you are in a rural setting with agricultural runoff or an urban area with aging pipes, the risks are different. Our team works across various locations, applying deep regional knowledge to help clients interpret what these test results mean for their homes.
Taking the Next Step
Reading your final lab report shouldn’t be confusing. If you are ever unsure about a result or what it means for your home, our FAQ section is a great resource. We provide clear, concise answers to the most common questions our clients ask.
If you are ready to start the testing process, we encourage you to contact us. We can help you identify which tests are appropriate for your well or tap water, provide the necessary sampling kits, and guide you through every step of the process.
Professional water testing is a marriage of meticulous logistics and advanced analytical chemistry. When you choose to use a laboratory, you are choosing to replace speculation with scientific fact. It is a small investment in the most important utility in your home, providing the peace of mind that comes from knowing exactly what is in your water.
Further Reading
- US Environmental Protection Agency (EPA): Laboratory Analytical Methods
- National Environmental Laboratory Accreditation Conference (NELAC): Standards for Laboratory Accreditation